A Guide to Creating Custom Magnets for Engineering Applications

Listen to this Article
Step 1: Selecting the Magnetic Material: The choice of a suitable magnetic material greatly depends on the application and desired magnetic properties. Common options include neodymium magnets for strong magnetic fields, ferrite magnets for cost-effective solutions, or specialized magnets that combine different kinds of materials for specific requirements such as temperature or corrosion resistance.
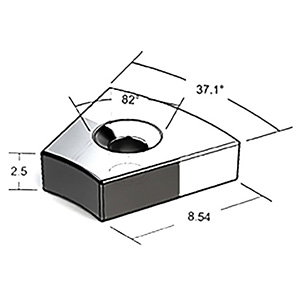
Step 2: Designing and Sizing the Magnets: The engineers, before any manufacturing can begin, must determine the magnets’ size, shape, and configuration based on the engineering needs. They must consider factors such as magnetic strength, dimensional limitations, magnetization direction, and any mechanical constraints. Often, engineers will use design software or calculations to ensure optimal magnet performance and compatibility with the intended application.
Step 3: Raw Material Production. The process of creating the magnetic material involves elements like Iron, Neodymium, Samarium, Cobalt, Boron, and Strontium. Engineers follow recipes based on the desired magnet characteristics to calculate the exact amounts of each material for a batch. Materials are melted, cooled, flaked, ground to a powder, compacted into molds, and sintered under heat and vacuum to form basic shapes like blocks or cylinders.
Step 4: Machining/Finishing: Sintered material blocks are machined, ground, cut, and drilled using various methods like wire EDM, waterjet, or conventional abrasive tools. Due to the rapid oxidation of many magnetic materials, plating is often necessary. Prior to plating, magnets must be free of sharp edges and burrs to ensure the plating will adhere properly. Both barrel plating and rack plating are commonly used for electroplating. Common plating/coating metals are Nickel, Zinc, Copper, or other non-metallic materials such as Teflon, plastics, Everlube, or Xylan.
Step 5: Magnetization Process: To give the custom magnets their strong magnetic properties, they need to be magnetized. Depending on the type of magnetic material, this is achieved using a magnetizing fixture or specialized equipment designed for magnetization. This process involves sending an extremely strong electrical field through the material to align groups of uniformly magnetized regions in the material known as “magnetic domains”.
Step 6: Testing and Quality Assurance: Once the custom magnets are ready to go, the final step is to conduct thorough testing and quality assurance procedures. The manufacturers will use either equipment or measurement techniques to verify the magnetic strength, performance, and dimensional accuracy. This step ensures that the custom magnets meet the engineering requirements and specifications.
Creating custom magnets for engineering applications requires careful consideration of materials, design, and magnetization processes. While the process can be a bit lengthy, the results are worth the effort. The ability to customize a magnet to meet specific requirements is one of the amazing advantages of using magnets in various projects. Interested in designing a custom magnet for your own specific needs? Click here to check out how Amazing Magnets’ design team can help you find the right magnet for your needs.
